ECU Magneti Marelli IAW 59F / 59M / 5AF / 5AM
Italian cars have a reputation of making mistakes when it comes to their electric components, but is this still true? At ACtronics, we receive many components of various car brands and Fiat is not even in the top 5. Yet, ignition problems are common, especially in Fiat cars with the Magneti Marelli IAW 5xx on board. Apparently, there are weaknesses in this ECU, but where exactly?
What becomes defective in most cases?
We can be brief about this: the circuit that controls the ignition. ACtronics sees many ECUs of which the engine suffers from misfires on two of the four cylinders. In some cases, it were only a few connections that became defective, but often components assembled on the PCB (circuit board) also become faulty.

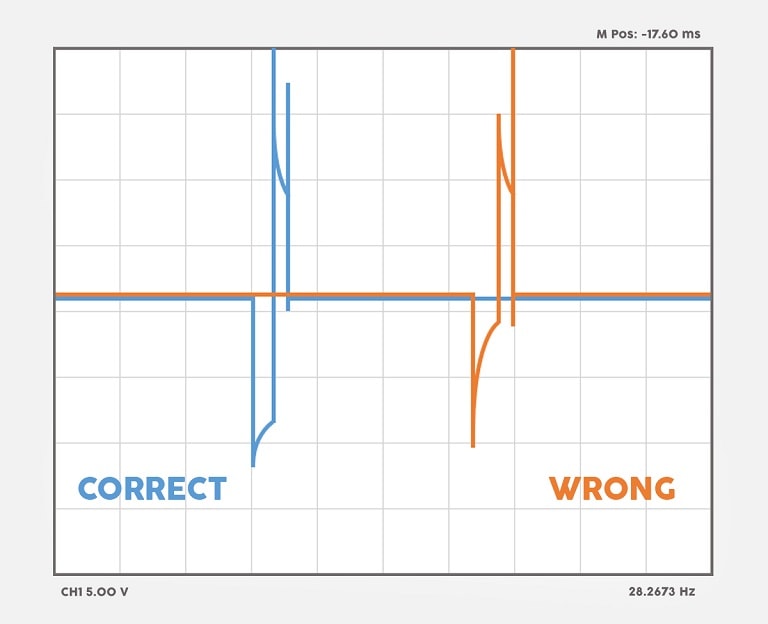
In some circumstances, the cause of all these problems lies in the ignition coil itself. After controlling the ECU, the ignition coil sometimes tends to return a peak voltage to the ECU. Unfortunately, this occasional peak voltage is hard to capture (with the oscilloscope). However, we recommend replacing the ignition coils when such malfunction occurs. It could otherwise be the case that the ECU will soon become defective….

Nonetheless, peak voltage is not always the problem behind ignition problems, since we often see components slowly detaching from the ceramic circuit board, losing their conductive functionality. We are not sure if environmental influences play a role or that the conductive epoxy glue has low quality, but as a matter of precaution we chose for a different solution to repair this defect. We will explain more about this later.
But, before we forget: knowing which error codes indicate these defects might be useful for technicians. Fortunately, the list is very short:
-
P0351 Ignition Coil ‘A’ Primary/Secondary Circuit Malfunction
-
P0352 Ignition Coil ‘B’ Primary/Secondary Circuit Malfunction
Remanufacturing: the process
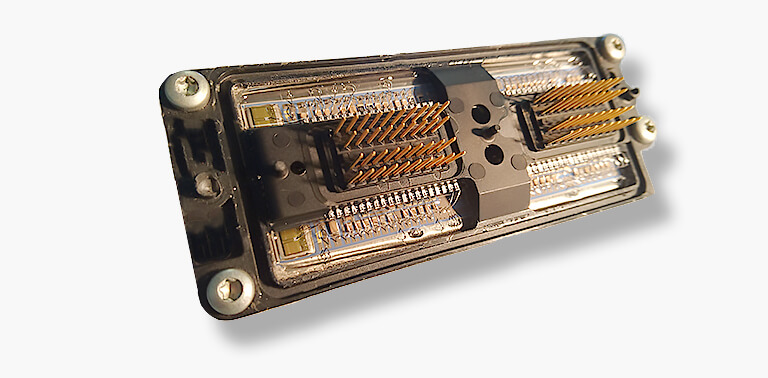
Of course, everybody wants to know how we deal with detached components, but let’s start at the beginning. Just like many other components that ACtronics remanufactures, the process starts with a pre-treatment and an entry-test: the unit is opened by milling and comprehensively tested to check if the ECU really has ignition coil problems. It could be that the ignition coil is defective and that in fact nothing is wrong with the ECU.
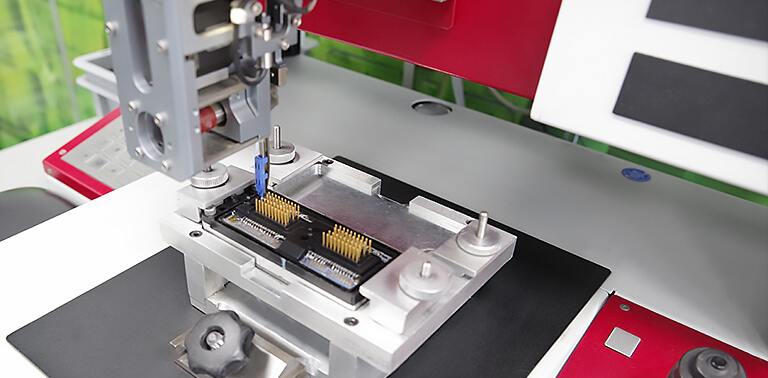
As soon as we find out that the defect is inside the ECU, all the connecting wires that go from the plug to the circuit board are checked. We call these connecting wires “bond connections”. Despite the fact that we see on the internet that most defective bond connections are repaired by soldering, we prefer ultrasonic bonding. This technique requires specific knowledge and costly equipment, yet we are glad that we chose for this method. With ultrasonic bonding, the connection wires are completely renewed, similar to its manufacturing process. There is no heat involved (in contrast to soldering) and the new connections have the exact same characteristics as originals. Well, exactly the same… By choosing thicker wires than the ones coming from factories, the product becomes even more reliable. Actually, a remanufactured ECU is therefore of higher quality than the original.

Often, a lot more than replacing connection wires is needed. Defective components have to be replaced and detached components must be reconnected. And that is exactly the challenge we face: the components on the ceramic circuit board are very small and extremely sensitive. Putting some glue in and pressing it down is not really how it works. Just a short touch might already damage one of the components! Also, soldering is not an option since everything is so small and sensitive. So, how do we do it?
The part that manages the ignition, is a good example of such a disconnected component. The conductive epoxy glue beneath loses its adhesive force which must be repaired. We know from experience that a new layer of conductive epoxy glue does not offer the quality that ACtronics would agree with: also this connection might become defective in the future. Therefore, we use a permanent (non-conductive) glue to properly attach the component and produce another conductive connection: extra bond connections. Since we have the equipment for ultrasonic bonding, we are happy that we do not have to depend on conductive glues. It is a step that one would never be able to perform with a soldering iron, but in this case makes the product even more reliable.
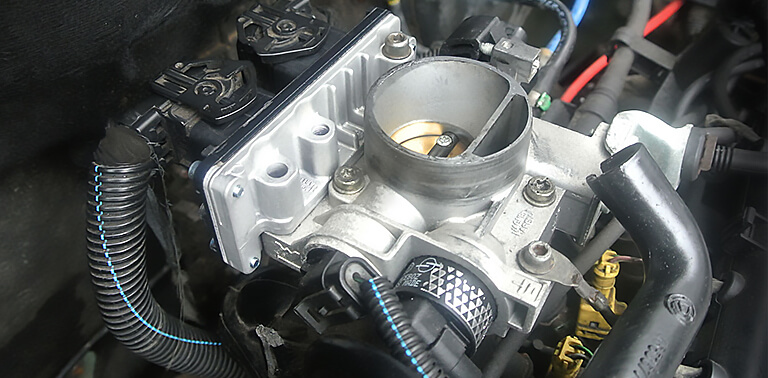
You’ve probably seen before that our product is then reassembled and lastly goes through the final test, for which we have a trump card: de Fiat Punto! At ACtronics, we have cars from multiple brands for test purposes. This had the advantage of being able to test a remanufactured product. Therefore, after the simulated final test, we might be making a test drive with the ECU.
We always deliver virginised units, meaning that the key code has been removed and that the ECU can therefore be used in every compatible car. Once the car is started for the first time, the ECU identifies the key code and automatically saves it. Consequently, this means that after the first start the ECU can only be used in that car.
The Magneti Marelli IAW 59F / 59M / 5AF / 5AM in detail
Our article about the Delphi Delco Multec HSFi-2.x contains an in-depth explanation about which components can be found in an ECU including a description of their functionalities. If you are interested in such information, we recommend reading the article which can be found on our website.
That being said: quite a few things can be explained about the Magneti Marelli IAW 5xx itself. Did you know that this ECU is also being used in Moto Guzzi and Ducati motorcycles? Next to the Ducati Monster S4 (2000-2010), even the Ducati 1198 (2009-2011) is equipped with this engine management system. Apparently, the ECU proves to be functioning fine with two-cylinder engines, even when special techniques such as Desmodromic are applied.
Furthermore, the list of vehicles that contain this ECU is not remarkable:
-
Fiat Doblo 119 (2001-2009)
-
Fiat Panda 169 (2003-2012)
-
Fiat Palio 178 (1996-2012)
-
Fiat Strada 178E (1998-2006)
-
Fiat Seicento 187 (1998-2010)
-
Fiat Punto 188 (1999-2012)
-
Lancia Y 840A (1995-2003)
-
Lancia Ypsilon 843 (2003-2011)
The fact that this ECU is being used by so many different cars and motorcycles comes with a disadvantage: the large variety of ECUs. A 59F cannot just be exchanged with another of the same type, which also counts for the 59M, 5AF and 5AM. To give you an idea of the possible variations, we made a list with 59F variations:
-
IAW 59F.BP
-
IAW 59F.BW
-
IAW 59F.E4
-
IAW 59F.E5
-
IAW 59F.ET
-
IAW 59F.M1
-
IAW 59F.M2
-
IAW 59F.M3
-
IAW 59F.M5
-
IAW 59F.M7
-
IAW 59F.P2
-
IAW 59F.P3
-
IAW 59F.P4
-
IAW 59F.SC
-
IAW 59F.ST
-
IAW 59F.VG
Pay good attention to using the correct ECU. Of course, this is not at stake in remanufacturing: the original unit is disassembled, remanufactured and reassembled. Even the software version remains unchanged. Still, this is something to think about when you’re not sure whether to remanufacture or replace your unit by a used one.
Interesting to mention:
ACtronics is able to deliver these remanufactured ECUs from stock. You will have a fast and properly functioning ECU. You can contact our Customer Service and immediately receive a remanufactured ECU. ACtronics will charge a deposit, which we’ll return once we received the old ECU from you.
(Dis)assembling the ECU
Removing the ECU is easy:
-
1. Disconnect the battery terminals.
-
2. Remove the bolts.
-
3. Take the plugs of the ECU.
-
4. Remove the ECU from the car.

Usually, assembling won’t be that hard either:
-
1. Place the ECU in the car with its bolts.
-
2. Connect the plugs to the ECU.
-
3. Connect the battery terminals.
-
4. Start the car. The immobilizer indicator light should switch off after 2 seconds.
In case the engine control indicator light keeps flashing, the following procedure must be followed: keep the engine idling until it reaches its operating temperature. Increase the revolution speed to 5000 rpm and hold it for 3 seconds, followed by idling for 5 seconds. Repeat these 2 steps 3 times, after which the engine indicator light should switch off. The initializing procedure is now complete.

 da
da de
de es
es fr
fr it
it nb
nb nl
nl pt
pt sv
sv fi
fi